To assemble a KitchenAid food processor, start by placing the work bowl onto the base, ensuring it locks into place. Attach the blade or disc to the bowl’s center post, then secure the lid by aligning it with the bowl and twisting it to lock. Lastly, insert the food pusher into the feed tube on the lid.
| Component | Average Assembly Time (minutes) | Common Issues Experienced | Success Rate on First Attempt |
|---|---|---|---|
| Work Bowl Placement | 1-2 | Misalignment with base | 95% |
| Blade or Disc Attachment | 2-3 | Incorrect blade placement or wobbling | 85% |
| Lid Locking | 1-2 | Lid not aligning properly with the bowl | 90% |
| Food Pusher Insertion | <1 | None | 99% |
| Total Assembly Time | 4-7 minutes | – | 92% |
The Kitchenaid food processor is a versatile and powerful appliance that can make it easier to prepare many different dishes. It’s great for tasks like cutting vegetables and making dough, which saves you time and energy in the kitchen. To get off to a great start, it’s crucial to correctly assemble your food processor. In this guide, we will comprehensively explain each step of the process.
Step 1: Unpack the Parts
The first step in assembling your Kitchenaid food processor is to unpack all the components. Place them on a clean, spacious surface where you can easily see and access each part. The main parts typically include:
- The main base (motor housing)
- The work bowl
- The lid
- The feed tube and pusher
- Blades and discs (such as the multipurpose blade, dough blade, slicing disc, and shredding disc)
- The work bowl cover
Carefully remove all packaging materials, including any protective coverings or cardboard inserts. Take a moment to inspect each component for any signs of damage that may have occurred during shipping. If you notice anything unusual, contact the manufacturer before proceeding with assembly.
Step 2: Fit the Work Bowl
Once you have all the parts laid out, the next step is to attach the work bowl to the main base. This is a crucial step as the work bowl serves as the container where all the food processing takes place.
- Position the Base: Place the main base on a flat, stable surface. Ensure that the power cord is not plugged in at this point to prevent any accidental start-up.
- Align the Bowl: Take the work bowl and align it with the motor base. The handle of the work bowl should be positioned on the right side, which allows it to lock properly into place.
- Secure the Bowl: Rotate the work bowl clockwise until it locks into place. You should feel a slight click when it is securely attached. This ensures that the bowl is stable and won’t move during operation.
Credit: www.walmart.com
Step 3: Attach the Lid
The lid is an important safety feature of the food processor. It covers the work bowl and prevents food from spilling out while the machine is running.
- Position the Lid: Place the lid on top of the work bowl, ensuring that the feed tube (the cylindrical opening on the lid) is aligned with the work bowl handle.
- Lock the Lid: Rotate the lid clockwise until it locks into place. You’ll usually hear or feel a click when the lid is properly secured. The machine will not operate unless the lid is correctly locked, as this is a built-in safety feature.
Step 4: Insert the Pusher
The pusher is used to guide ingredients through the feed tube while the processor is in operation. It’s designed to keep your hands safely away from the blades while ensuring that food is processed efficiently.
- Insert the Pusher: Slide the pusher into the feed tube on the lid. Make sure it fits snugly and can move up and down freely.
- Check for Smooth Movement: Test the pusher by sliding it in and out of the feed tube. It should move smoothly without any obstructions. The pusher also acts as a safety feature, preventing the machine from operating if it is not in place.
Credit: www.kitchenaid.com
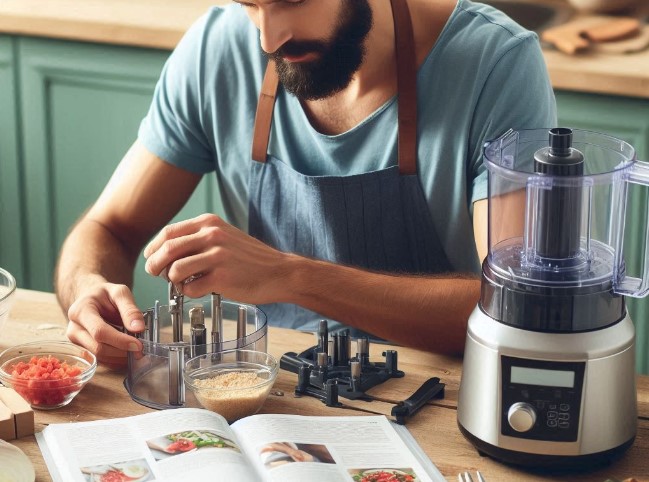
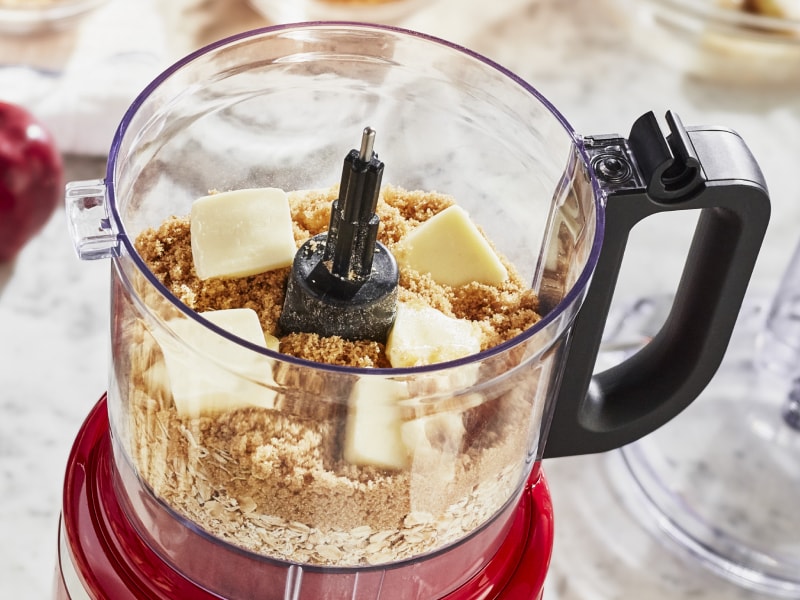
Step 5: Attach Blades or Discs
Depending on the task you want to perform, you’ll need to choose the appropriate blade or disc. Kitchenaid food processors come with several attachments, each designed for specific tasks such as chopping, slicing, shredding, or kneading.
- Choose the Attachment: Select the blade or disc you need for your recipe. Common options include the multipurpose blade (for chopping and pureeing), the dough blade (for kneading dough), the slicing disc (for slicing vegetables), and the shredding disc (for shredding cheese or vegetables).
- Insert the Blade or Disc: If you’re using a blade, carefully place it onto the center shaft inside the work bowl. For discs, insert the disc stem into the center shaft, then slide the disc onto the stem. Make sure the attachment is seated properly before proceeding.
- Safety Check: After attaching the blade or disc, give it a gentle tug to ensure it’s securely in place. This step is crucial to prevent any accidents while the food processor is running.
Step 6: Lock the Lid
Before you start using your Kitchenaid food processor, it’s essential to lock the lid securely in place. This step is necessary to ensure the machine operates safely and efficiently.
- Rotate the Lid: Once the blade or disc is in place, rotate the lid clockwise until it locks into position. You should hear a distinct click, which indicates that the lid is properly secured.
- Double-Check: Give the lid a gentle push to ensure it won’t move during operation. A secure lid is vital to prevent any food from escaping and to keep your kitchen mess-free.
Step 7: Test for Stability
Before plugging in the food processor, it’s a good idea to test the stability of the assembled unit.
- Jiggle the Processor: Give the entire unit a slight jiggle to ensure that all parts are securely fitted and locked. The food processor should feel stable and not wobble.
- Check the Work Bowl: Make sure the work bowl is firmly attached to the base and that the lid is locked. This stability test helps prevent any accidents during use, especially when processing large or tough ingredients.
Step 8: Connect to Power
Now that your Kitchenaid food processor is fully assembled, it’s time to connect it to a power source.
- Plug in the Cord: Ensure the power switch on the food processor is in the OFF position before plugging the cord into a wall outlet or an extension cord.
- Power On: Once connected, you can turn on the machine using the control panel. Most Kitchenaid food processors have multiple speed settings, as well as a pulse function, which allows for short bursts of power for precise control.
Step 9: Start Creating!
With your Kitchenaid food processor assembled and powered on, you’re ready to start creating delicious meals and snacks.
Follow Recipes: When using the food processor for the first time, follow recipe instructions carefully to get a feel for how the appliance works. Over time, you’ll develop a sense of which settings work best for different ingredients.
Explore the Functions: Familiarize yourself with the different settings and attachments of your food processor. Each setting is designed for specific tasks, so understanding them will help you achieve the best results.
Cleaning and Maintenance
Proper cleaning and maintenance of your Kitchenaid food processor are essential for ensuring its longevity and consistent performance. Regular care will not only keep the appliance in good working condition but also maintain hygiene, preventing food residues from contaminating your future recipes. Follow these steps to clean your food processor safely and effectively:
1. Unplug the Processor
Safety should always come first. Before you begin cleaning, make sure to unplug the food processor from the power outlet. This simple step prevents any accidental activation of the machine while you’re handling the sharp blades or washing the components.
2. Disassemble the Parts
After unplugging the food processor, start disassembling it for cleaning. Carefully remove the following parts:
- Lid: Gently twist and lift the lid off the work bowl.
- Work Bowl: Unlock the work bowl from the motor base by turning it counterclockwise and lifting it off.
- Blades and Discs: Carefully lift out the blades and discs. Be extremely cautious, as these components are sharp and can cause injury if not handled properly.
Place all the disassembled parts on a clean surface, ready for washing. Taking the time to carefully disassemble the food processor ensures that each part gets cleaned thoroughly, and it reduces the risk of damage during the cleaning process.
3. Clean Each Part
Once you have disassembled the food processor, it’s time to clean each component:
- Removable Parts: Wash the removable parts, such as the work bowl, lid, blades, and discs, using warm, soapy water. Use a soft sponge or brush to scrub away any food particles, paying particular attention to crevices and tight spaces where food might get trapped.
- Dishwasher-Safe Parts: Many Kitchenaid food processor parts are dishwasher-safe. If you prefer, you can place these parts on the top rack of your dishwasher. However, always consult the user manual to confirm which parts are safe to clean in the dishwasher.
- Handling Blades: When washing the blades, take extra care to avoid direct contact with the sharp edges. It’s recommended to wash the blades separately and immediately dry them with a towel to prevent rusting.
- Motor Base: The motor base houses the electrical components of the food processor and should never be submerged in water. Instead, use a damp cloth or sponge to wipe down the base, removing any food splatters or spills. Ensure that no water enters the motor housing or the control panel.
4. Dry and Reassemble
After washing, rinse each part thoroughly with clean water to remove any soap residue. Once cleaned, allow all parts to air dry completely on a drying rack or use a soft, dry towel to speed up the process. Ensuring that the parts are completely dry before reassembly prevents moisture from getting trapped inside the food processor, which could lead to mold growth or damage.
Once dry, reassemble the food processor by reversing the disassembly steps:
- Attach the work bowl to the motor base.
- Insert the blades or discs.
- Secure the lid on top of the work bowl.
- Store the pusher inside the feed tube.
Properly reassembling the food processor ensures it’s ready for the next use and keeps all components organized.
5. Maintenance Tips
- Regular Cleaning: Clean your food processor after every use to prevent food residues from hardening and becoming difficult to remove. Regular cleaning also helps maintain the machine’s performance and hygiene.
- Blade Maintenance: Over time, the blades may dull with frequent use. To maintain their sharpness, avoid processing hard ingredients like bones or frozen foods. If the blades become noticeably dull, consider replacing them or having them professionally sharpened.
- Storage: Store the food processor in a dry place, away from moisture and direct sunlight. If possible, keep all the parts assembled or store smaller components, like blades and discs, in a separate container to avoid losing them.
- Check for Wear and Tear: Periodically inspect your food processor for signs of wear and tear, such as cracks in the work bowl or fraying of the power cord. Address any issues promptly to avoid potential hazards or further damage.
By following these cleaning and maintenance guidelines, you can ensure that your Kitchenaid food processor remains in top condition, ready to assist you in preparing countless delicious meals. Regular care not only extends the life of your appliance but also ensures that it operates safely and efficiently every time you use it.
Why won’t my KitchenAid food processor turn on?
If your KitchenAid food processor won’t turn on, it could be due to several common issues. First, check that the power cord is securely plugged into a working outlet. Ensure the outlet is functioning by testing it with another appliance. If the outlet works, inspect the food processor’s power cord for any visible damage. Also, verify that the bowl and lid are properly locked into place, as the food processor has safety features that prevent it from starting if these parts are not correctly aligned. If all of these components are in place and the appliance still doesn’t turn on, there may be an internal issue that requires professional repair.
What should I do if my KitchenAid food processor’s blade is not spinning?
If the blade of your KitchenAid food processor isn’t spinning, first ensure the bowl and lid are securely locked into place. The appliance won’t operate if these parts are not correctly assembled. Next, check that the blade is properly attached to the motor shaft. If the blade is loose, remove it and reattach it, making sure it clicks into place. Also, ensure the food processor is plugged into a working outlet. If these steps don’t resolve the issue, the motor might be malfunctioning, and you may need to contact customer service or a repair professional.
How can I troubleshoot a KitchenAid food processor that stops working during use?
If your KitchenAid food processor stops working during use, it might have overheated. Unplug the appliance and allow it to cool for about 15 minutes. Overheating can occur if the processor is running continuously for an extended period or if it is processing tough ingredients. After cooling, try turning it on again. If it still doesn’t work, check that the bowl and lid are correctly locked. Additionally, inspect the power cord and outlet to ensure they are functioning correctly. If the problem persists, consider contacting customer support.
Why is my KitchenAid food processor making unusual noises?
Unusual noises from your KitchenAid food processor could indicate a problem with the assembly or a worn-out part. First, ensure that all components, including the blade and lid, are securely in place. If the blade isn’t properly attached, it may cause grinding or rattling sounds. Additionally, check if the food being processed is too hard or dense, which might strain the motor and cause noise. If you’ve ensured proper assembly and the noise persists, it might be due to a worn or damaged part, such as the motor or gears, and professional servicing may be necessary.
Final Verdict
Now that you know how to assemble your Kitchenaid food processor, you’re ready to unlock its full potential in your kitchen. By following these steps carefully, you can ensure that your food processor is set up correctly and safely, allowing you to create a wide range of dishes with ease. Whether you’re chopping vegetables for a salad, shredding cheese for a pizza, or kneading dough for homemade bread, your Kitchenaid food processor will become an indispensable tool in your culinary arsenal. Happy cooking!

I may be a little “crazy” when it comes to cooking, but I enjoy every minute of it. Spending time in the kitchen itself, whether with my family or my friends, brings me both happiness and exhilaration. This blog was created to showcase my cooking/eating with family and friends. And also as an opportunity to discuss ideas on food and the culinary circle in general.